December 26, 2021 Norwich, UK Snoopy Christmas Quilt cotton· FinishedProjects· General· General Information· quilt· snoopy. peanuts·
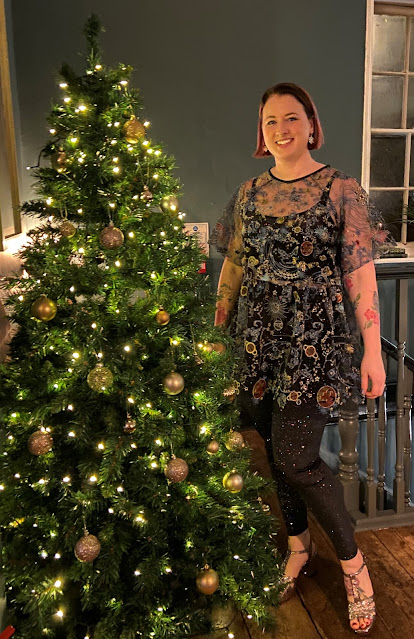
December 19, 2021 Norwich, UK A Festive Journee - McCalls 8110 festive· FinishedProjects· General· General Information· glitter· glitter jersey· journee· McCalls· mccalls 8110· sheer· stars· tulle· wardrobe·
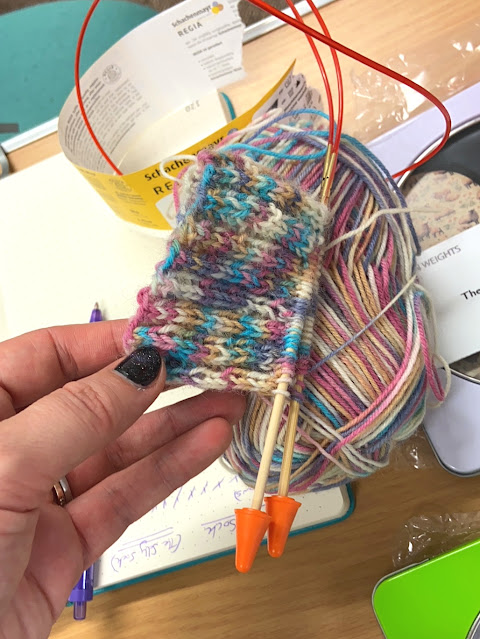
December 5, 2021 Norwich, UK The Sally Sock craft· FinishedProjects· General· General Information· knit· knitting· learning· sally socks· socks· the sally sock· wardrobe· wool· yarn·