February 19, 2023 Norwich, UK The Westcliff Dress & Cobra Rerun cobra corsage· FinishedProjects· friday pattern· friday pattern company· General· jersey· neon leopard· the westcliff dress· westcliff·
February 12, 2023 Norfolk, UK Atelier Jupe - Alex Coat Duo alex· alex coat· atelier jupe· boiled wool· buttons· coat· FinishedProjects· General· lining· rainbow fabrics· wool·
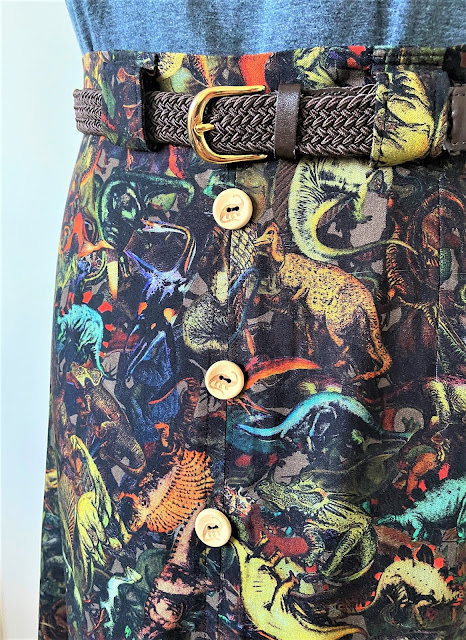
February 5, 2023 Norwich, UK Party in Jurassic Park buttons· dino· dino party· dinosaurs· FinishedProjects· General· jurassic park· kew· kew dress· kew skirt· minerva· nina lee·