July 31, 2022 Norwich, UK Myosotis Mash Up batiste· cath crafts· cloud 9· FinishedProjects· General· hack· hey sew sister· mash up· myosotis· myosotis dress· pattern hack· secret life of a seamstress· shirt· summer· the avid seamstress· the blouse·
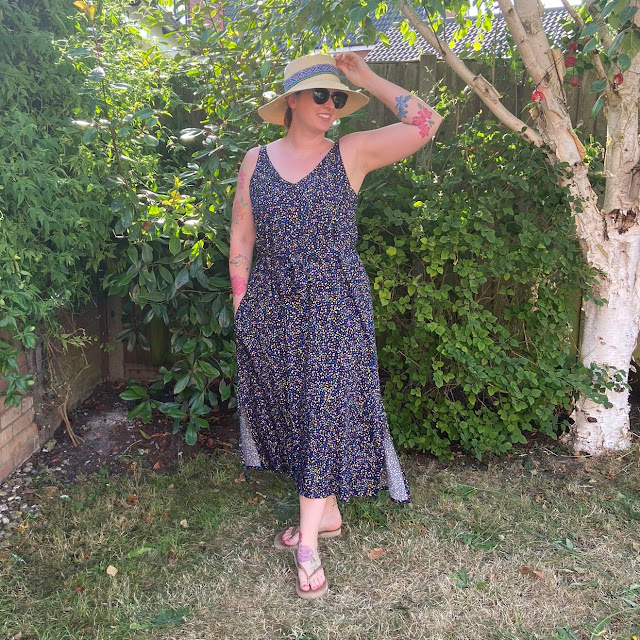
July 24, 2022 Norwich, UK Sauvie the Summer Saviour challis· confetti· FinishedProjects· General· ladybird· ladybug· minerva· sauvie· sauvie dress· sew house 7· sew house seven· soimoi· summer· summer dress· viscose·
July 17, 2022 Norwich, UK Esther Shorts - Not Esther's Shorts canvas· cloud 9· esther· esther shorts· FinishedProjects· General· General Information· hey sew sister· linen· shorts· summer· tessuti· wardrobe·
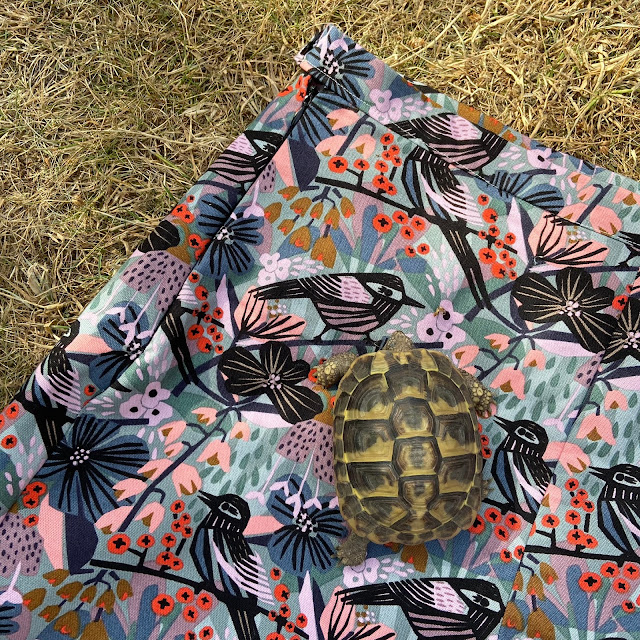
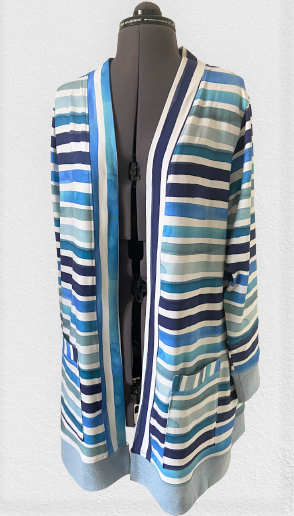
July 10, 2022 Norwich, UK Harper Cardigan Sinclair Patterns allwell· bag· beyond the pink door· birds· blackwood· cardigan· FinishedProjects· full moon bag· General· General Information· harper· harper cardigan· sinclair patterns· stripes· wardrobe·
July 3, 2022 Norwich, UK Zadie Hack - Paper Theory chickens· elephant· FinishedProjects· General· General Information· guthrie & ghani· linen· p[aper theory· tunic· wardrobe· zadie· zadie jumpsuit·